

How to Test E-Bike Battery Range: Real-World Guide
Table of Contents
- What You'll Need Before You Start
- How to Test E-Bike Battery Range: The Real-World Range Test
- Understanding Watt-Hours, Voltage and Capacity
- Factors Affecting Electric Bike Range You Can Control
- How to Use a Multimeter on E-Bike Battery Terminals
- E-Bike Battery Health Check: Spotting Degradation and BMS Faults
- Used E-Bike Battery Inspection Checklist
- Safety, Charging and UK Battery Care
- Frequently Asked Questions
Last Updated: September 13, 2026
What You'll Need Before You Start
Testing how to test e-bike battery range properly starts with three things: a fully charged battery, a known route, and a way to record what happens. Most riders skip the recording step and end up guessing.
Gather these before your first run:
- A tyre pressure gauge (under-inflation is the most common range killer)
- A phone mount and a tracking app that logs distance and elevation
- A notebook or notes app for voltage readings and conditions
- A basic multimeter if you want to check the battery directly
How to Test E-Bike Battery Range: The Real-World Range Test
The real-world range test is a repeatable ride on a fixed loop at a steady assist level until the battery cuts out, recording distance and voltage at set intervals. It gives you your bike's true range, not the manufacturer's ideal-condition figure.
Most guides stop at "ride until it dies and note the distance." That is not a test, it is an anecdote. A test is repeatable, controlled, and comparable across sessions. The protocol below is designed so that two runs three months apart can be compared honestly.
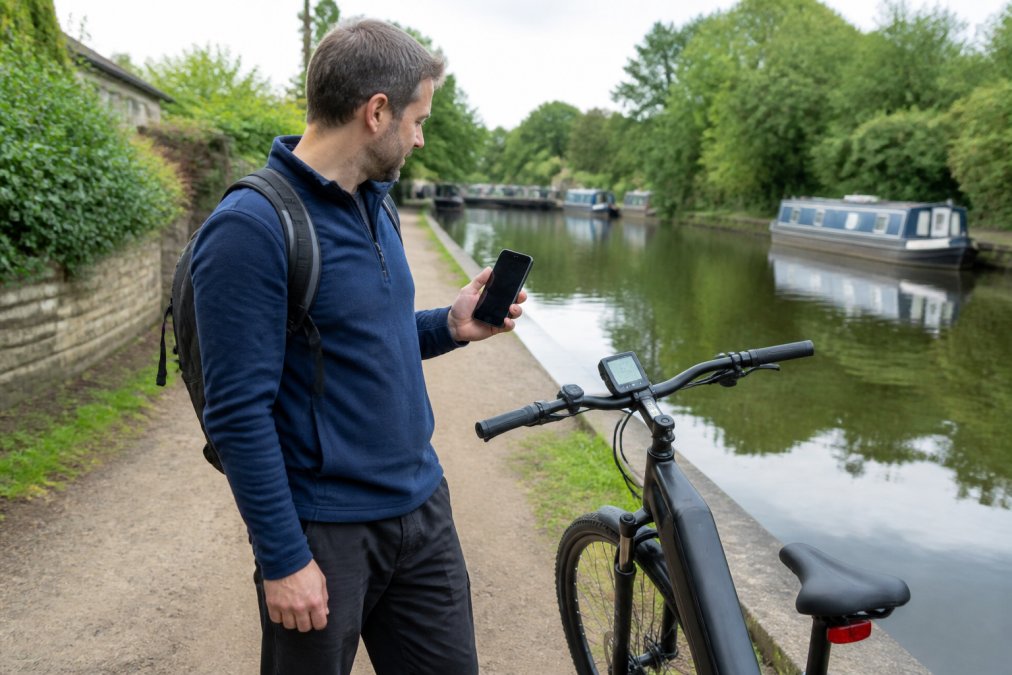
Step 1: Charge and Record the Starting Point
Charge the battery to 100% and let it rest for 30 minutes before riding. A battery that's just come off the charger reads artificially high; resting lets the cells settle so your starting voltage is accurate.
Record the resting voltage and the displayed state of charge. On a 36V system, a healthy full charge typically rests around 42V. On a 48V system, expect roughly 54.6V. Write both numbers down.
Also record the ambient temperature at the start. Capacity falls noticeably below about 10°C, so a January run and a July run are not directly comparable unless you note the difference.
Step 2: Ride a Fixed Loop at a Steady Assist Level
Pick a loop you can repeat exactly, ideally 8-16 km with a mix of flat and one hill. Set one assist level and leave it there for the entire ride. Changing assist mid-test invalidates your results.
Ride at a consistent effort and cadence. A practical target is 60-80 rpm and a steady 20-22 km/h on the flat. Stop the test when the battery cuts out or drops to its lowest assist level, not when you feel tired.
If you cannot find a closed loop, use an out-and-back on the same road so the elevation profile is identical in both directions.
Step 3: Log Distance, Voltage Drop and Conditions
Record distance covered, voltage at 25%, 50% and 75% discharge, ambient temperature, wind, and your tyre pressures. Voltage drop under load tells you more about battery condition than the percentage display alone.
| What to Log | Why It Matters | Example Reading |
|---|---|---|
| Total distance | Your true range figure | 52 km |
| Resting voltage | Baseline for comparison | 41.8V |
| Voltage at 50% | Mid-ride health indicator | 37.2V |
| Temperature | Cold cuts range noticeably | 9°C |
| Tyre pressure | Low pressure adds drag | 45 psi |
| Assist level used | Makes runs comparable | Level 2 of 5 |
| Average speed | Wind drag rises sharply with speed | 21 km/h |
Step 4: Normalise the Result Before Comparing
Raw distance is not the number you compare. Normalise it first:
- Temperature correction: below 10°C, expect roughly 10-20% less range than a mild day. Note it, do not "correct" it, just compare like with like.
- Elevation correction: if your loop has 150 m of climbing, a flatter loop will always return more. Keep the loop fixed so this cancels out.
- Tyre pressure: log it every run. A 10 psi drop on a commuter tyre can cost several kilometres.
Repeat the same loop every three months, at roughly the same temperature if possible. A steady decline is normal; a sudden drop is a warning sign.
Understanding Watt-Hours, Voltage and Capacity
Watt-hours is the honest measure of battery capacity, calculated by multiplying voltage by amp-hours. A 48V 20Ah battery holds 960Wh; a 36V 8.8Ah battery holds about 317Wh. The bigger number generally means more range, but only if everything else is equal.
Voltage describes electrical pressure, not capacity. A higher-voltage system pushes more current through the motor for the same effort, which is why 48V bikes often feel punchier than 36V ones. Capacity, measured in amp-hours, tells you how long the battery can sustain a given discharge rate.
Energy density matters too: modern lithium-ion cells pack more watt-hours into the same physical space than older chemistries. That's why a slim seat-post battery can now deliver range that once required a bulky frame pack. Maximizing the longevity of these high-density cells requires consistent lithium battery maintenance to ensure that your pack retains its capacity over many seasons of use.
Factors Affecting Electric Bike Range You Can Control
The biggest controllable factors affecting electric bike range are tyre pressure, rider weight and cargo, assist level, terrain, and speed. Fix those five and you'll recover a meaningful chunk of claimed range.

- Tyre pressure: Under-inflated tyres increase rolling resistance. Check weekly.
- Assist level: Dropping one level typically adds several kilometres.
- Speed: Wind resistance rises sharply above 25 km/h. Easing off saves power.
- Terrain: Hills drain batteries fast. Plan flatter commutes where possible.
- Temperature: Cold weather reduces usable capacity. Store batteries indoors overnight.
- Rider weight and load: Every extra kilogram costs range, especially on climbs.
A common mistake is blaming the battery for poor range when the real culprit is a soft rear tyre and a habit of riding in top assist.
How to Use a Multimeter on E-Bike Battery Terminals
Using a multimeter on e-bike battery terminals means setting the meter to DC voltage, connecting the probes to the correct terminals, and reading the display. It takes two minutes and tells you whether the battery is healthy.
Set your multimeter to DC volts, with a range above your battery's peak (200V DC covers most e-bike packs). Touch the red probe to the positive terminal and the black probe to the negative. Read the display.
Reading Nominal vs Peak Voltage
Nominal voltage is the average voltage a battery delivers during normal use; peak voltage is what it reads fully charged. A "36V" battery peaks near 42V and sags toward 30V as it empties. A "48V" pack peaks near 54.6V.
If your fully charged pack reads well below its expected peak, the battery is either degraded or the charger is underperforming. Both are worth investigating before you rely on it for a long commute.
Load Testing and Continuity Checks
A resting voltage can look fine while the battery collapses under load. To load test, watch the voltage display while riding up a hill: a healthy pack sags slightly, a failing one drops sharply.
Continuity checks confirm the terminals and wiring are intact. With the battery disconnected, set the meter to continuity and test across the fuse and cable runs. No beep means a break somewhere in the circuit.
E-Bike Battery Health Check: Spotting Degradation and BMS Faults
An e-bike battery health check looks for three things: reduced capacity, uneven cell behaviour, and BMS faults. The battery management system (BMS) is the circuit board that balances cells, prevents over-discharge, and shuts the pack down when something is wrong.
Most guides treat "the battery is dying" as one problem. It is two, and they have different fixes. Cell degradation is a slow loss of usable capacity that no repair will reverse. A BMS fault is an electronics problem that can often be fixed for a fraction of the cost of a new pack. Telling them apart is the single most useful diagnostic an owner can do.
Signs of Cell Degradation
- Range drops noticeably over a few months rather than years
- The pack charges unusually fast, then dies quickly
- Voltage sags sharply under load
- The charger cuts out early or never reaches full
- The battery feels warm during normal discharge
- The pack charges to a lower resting voltage each month (e.g. 41.8V, then 41.5V, then 41.2V on a 36V system)
Signs of a BMS Fault
- The bike cuts power under acceleration but the pack still reads a healthy resting voltage
- The battery refuses to charge at all, or the charger clicks on and off repeatedly
- The display shows an error code on start-up
- The pack works on one bike but not another with the same connector
- Voltage reads correct at the terminals but the bike behaves as if the battery is empty
- One cell group reads far lower than the rest when the pack is opened for inspection
How to Tell Them Apart
The decisive test is the load test. Watch the voltage display while riding up a hill:
- Healthy pack: sags slightly under load, recovers quickly when the load eases.
- Degraded cells: sags progressively deeper each ride, and the resting voltage after the ride is lower than it used to be.
- Faulty BMS: resting voltage looks normal, but the pack shuts down or cuts power the moment current demand rises, then reads fine again a minute later.
A second clue is charging behaviour. A degraded pack charges to a lower voltage each cycle. A BMS fault often stops charging entirely, or trips the charger before the pack is full, even though the cells themselves are fine.
If any of these signs appear, stop using the battery and have it tested professionally rather than continuing to ride. A qualified technician can measure individual cell-group voltages and confirm whether the fault sits in the cells or the board.
Used E-Bike Battery Inspection Checklist
Buying used means inspecting the battery before you hand over money. Work through this list in person, with the bike switched on.
- Ask for the battery's age and original purchase date
- Confirm the charger matches the battery's voltage and connector
- Charge to full and record the resting voltage
- Ride for 10 minutes and watch for voltage sag under load
- Check the casing for swelling, cracks, or water ingress
- Test the display for error codes on start-up
- Ask whether the battery has ever been left flat for long periods
- Confirm the range the seller actually gets, not the claimed figure
Swelling is an immediate walk-away. So is a pack that won't hold charge overnight. A battery that's two or three years old and still holding most of its range is a reasonable buy; one that's been stored empty for a year is not.
Safety, Charging and UK Battery Care
Charge your e-bike battery indoors, away from flammable materials, and never leave it charging unattended overnight. Use only the charger supplied with the bike, and stop charging if the pack becomes unusually hot.
UK guidance on lithium battery safety, published by GOV.UK fire safety advice on lithium batteries, recommends charging in a room with a working smoke alarm and avoiding charging in escape routes such as hallways. Follow it.
For disposal, never put a lithium battery in household waste. Take it to a local authority recycling centre that accepts batteries, as set out in UK guidance on disposing of batteries.
For broader electric bike care and riding guidance, the government guidance on electric bikes and the law is a useful reference on where and how e-bikes can legally be used.
Store batteries between 20% and 80% if the bike won't be used for weeks. Keep them out of freezing sheds in winter. A battery treated well will hold useful capacity for years.
If you'd rather have your battery professionally tested, Green Hybrid Bikes offers battery testing and servicing from our Leicester showroom, alongside our range of commuter and folding models.
Frequently Asked Questions
Is there a reliable way to test e-bike battery range at home?
Yes. Charge the battery fully, reset your trip meter, then ride a fixed loop at one pedal assist level until the battery cuts out. Record the distance and the terrain. Repeat the same loop in similar weather and compare figures. A drop of more than about 15% between identical runs points to battery degradation. For a more precise number, pair this with a multimeter reading at the terminals and a watt-hour calculation from your battery's voltage and amp-hour rating.
What factors most significantly affect electric bike range?
The biggest factors affecting electric bike range are rider weight, terrain, assist level, tyre pressure and temperature. A heavy rider on hilly ground in cold weather using full assist can lose a third of the claimed range compared with a lighter rider on flat ground in summer. Motor type matters too: a mid-drive unit works through the gears and usually returns more miles per watt-hour than a hub motor on the same route. Keep tyres at the pressure printed on the sidewall and the numbers improve.
How far can a 48V 20Ah battery go?
A 48V 20Ah pack stores 960Wh, so in mixed commuting conditions expect roughly 80 to 120 km (50 to 75 miles) depending on assist level and terrain. The G-Hybrid Mammoth fat tyre e-bike uses exactly this 48V 20Ah lithium battery and is rated for up to 120 km. Heavier riders, steep hills or constant top-level assist will pull that figure down; gentle pedal assist on flatter routes can push it higher.
How do I tell if my e-bike battery is losing capacity?
The clearest sign is a shrinking real-world range on a route you ride regularly. Other indicators include the state of charge dropping faster than usual, the charger finishing sooner, and voltage sag under load. A multimeter reading taken at full charge that sits well below the battery's nominal voltage, or a voltage drop of more than about 10% under load, suggests worn cells. Most lithium-ion packs are rated for 500 to 800 full charge cycles before capacity falls noticeably.
Knowing your bike's true range removes the anxiety of a longer commute. Green Hybrid Bikes stocks models with 50+ miles of tested battery range, including the G-Hybrid Husky VM6 and the G-Hybrid Mammoth fat tyre e-bike, both backed by UK after-care, battery testing and local warranty support. Book a free e-bike test ride today and see the range for yourself before you commit.